Creating a Thriving Herb Garden: An In-Depth Project
Gardening is a journey that rewards patience and dedication with beauty and bounty. One of my most satisfying gardening projects has been creating a thriving herb garden. Herbs not only elevate our culinary adventures but also enhance our gardens with their lush greenery and aromatic presence. If you’re looking to dive into a project that combines functionality with beauty, this guide on creating an herb garden is just for you.
Why an Herb Garden?
Herbs are versatile plants that can be used fresh, dried, or preserved. They bring flavor to our meals, serve medicinal purposes, and even act as natural pest deterrents in our gardens. Starting an herb garden allows you to have fresh herbs at your fingertips, reduces grocery costs, and adds an aesthetic appeal to your outdoor space.
Planning Your Herb Garden
Choosing the Right Location
The first step in creating an herb garden is selecting the right spot. Herbs thrive in areas that receive at least 6-8 hours of sunlight daily. Ensure the location has well-draining soil, as herbs generally don’t like waterlogged conditions.
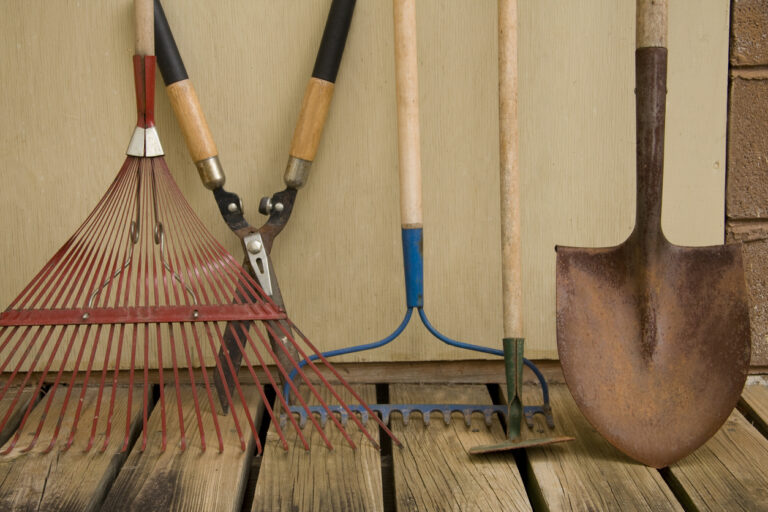
Deciding on the Layout
Whether you’re planning a small kitchen garden or a larger plot, the layout is crucial. Raised beds, containers, or traditional garden beds can all work well. Consider the growth habits of the herbs you want to plant – taller herbs should go at the back or center, with shorter ones around the edges.
Selecting Your Herbs
Choose herbs that you frequently use and are suitable for your climate. Common culinary herbs include basil, parsley, thyme, rosemary, and mint. For a bit of variety, you might also include medicinal herbs like lavender and chamomile. For more detailed information on selecting and growing herbs, you can visit the University of Illinois Extension page on Growing Herbs or my Plant Care section.
Preparing the Soil
Testing and Amending Soil
Good soil preparation is key to a successful herb garden. Start by testing your soil’s pH – most herbs prefer a pH of 6.0 to 7.5. Amend your soil based on the test results. Adding compost or well-rotted manure can improve soil structure and fertility.
Building Raised Beds
If you opt for raised beds, construct them with untreated wood or other non-toxic materials. Fill the beds with a mix of garden soil, compost, and a bit of sand to ensure good drainage.
Planting Your Herbs
Starting from Seeds vs. Transplants
While starting herbs from seeds can be rewarding, it requires more time and patience. Transplants, or young plants bought from a nursery, provide a quicker start. Decide based on your preference and the growing season.
Planting Techniques
- Seeds: Sow seeds according to the packet instructions, usually at a shallow depth. Keep the soil consistently moist until germination.
- Transplants: Dig a hole slightly larger than the root ball, place the plant in, and fill in with soil. Water well to help settle the soil around the roots.
Spacing and Companion Planting
Proper spacing ensures good air circulation and reduces the risk of disease. Follow the recommended spacing for each herb. Some herbs, like basil and tomatoes, make excellent companions, enhancing each other’s growth.
Caring for Your Herb Garden
Watering
Herbs generally prefer to be on the drier side. Water thoroughly when the top inch of soil feels dry. Overwatering can lead to root rot, so it’s crucial to ensure good drainage.
Mulching
Mulching helps retain soil moisture, suppress weeds, and regulate soil temperature. Use organic mulch like straw or wood chips, but keep it a few inches away from the plant stems to prevent rot.
Fertilizing
Herbs don’t usually require heavy feeding. A light application of a balanced, organic fertilizer in the spring can give them a good start. Over-fertilizing can lead to lush foliage but reduced flavor.
Pruning and Harvesting
Regular pruning encourages bushier growth and more abundant harvests. Pinch back the tips of your herbs to prevent them from flowering too soon. Harvest herbs in the morning after the dew has dried but before the heat of the day to capture the best flavor.
Dealing with Pests and Diseases
Common Pests
Herbs can attract pests like aphids, spider mites, and whiteflies. Use natural pest control methods such as neem oil, insecticidal soap, or introducing beneficial insects like ladybugs.
Disease Prevention
Ensure good air circulation by proper spacing and avoid overhead watering to reduce fungal diseases. Remove any diseased plants or leaves promptly to prevent the spread of infections.
Preserving Your Herbs
Drying
Drying herbs is one of the easiest ways to preserve them. Tie small bunches and hang them in a cool, dark place with good ventilation. Once dry, store them in airtight containers away from direct sunlight.
Freezing
Freezing preserves the fresh flavor of herbs better than drying for some varieties. Chop the herbs, place them in ice cube trays, cover with water, and freeze. Transfer the herb cubes to a freezer bag for easy use.
Making Infusions and Oils
Herbal oils and infusions are great for both culinary and medicinal uses. Infuse fresh herbs in olive oil for a few weeks, strain, and store in a cool, dark place. Herbal vinegar can also be made similarly using apple cider vinegar.
Conclusion
Creating an herb garden is a delightful project that offers numerous rewards. From enhancing your culinary creations to providing natural remedies, herbs are a wonderful addition to any garden. The journey from planning and planting to harvesting and preserving is fulfilling and connects us with the natural world. So, roll up your sleeves, get your hands dirty, and embark on this green adventure. Your garden, and your kitchen, will thank you.